Hi! Today I have fun little project to share with you today and my first ever step by step tutorial (so this is a warning that it is a LONG post, lol)!
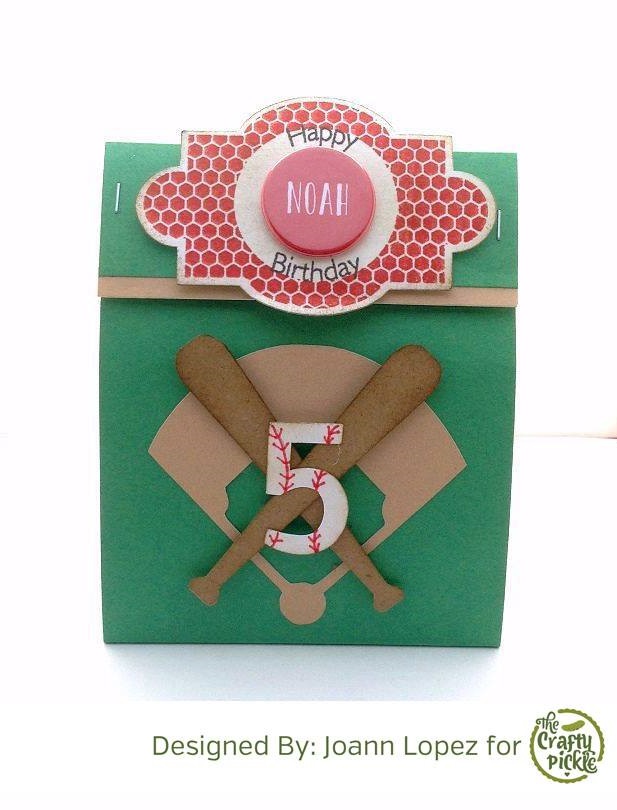
I wanted to create some fun treat holders to give to a few friends and family some in which I could fit a snicker bar. I searched for a few ideas and came across many (pinterest of course, lol) and most of them used the envelope punch board, but I wanted to be able to make one without the punch board.
Here is what I came up with...
I started off with cutting some 12 x 12
Cranberry card stock from CTMH at 9 1/4 x 5 (you can get 2 treat holders out of a 12 x 12). I then placed my card stock long ways on my scoreboard (9 1/4) and scored it at 1 1/8, 2 1/8, 7, 8. I then took my card stock and rotated it (5) and scored at 3/4, 1 7/8, 3 1/8, 4 1/8. It will look like this...
Taking my scissors I started to cut (black lines indicate where you need to cut and the "x" indicates the areas that will be removed).
You will then be left with this (I marked the 4 areas with stars for the next step below)...
The 4 squares with the stars (shown above) will need a small diagonal cut off of 2 sides (picture on the left). After all four squares have been cut, your treat holder should look like the picture on the right. This will help with the closure of the box.

I used my grid mat to place small dots on the top and bottom squares of my treat box (picture on the right). I took my scissors and meet the side dots to the top. You should end up with the picture on the left.
I took
CTMH stamp set Snowflakes to stamp a few images for my box and turned the box on its back and placed some strong adhesive on the 3/4 side (one of the sides is slightly smaller than the other, I did it this way so when the box is closed, the closing on the back is down the middle and not to one side).
I found the easiest way to line everything up was to fold the box and carefully push down so both sides stick to the adhesive and then I opened it to run my finger inside, making sure it was secured.
I cut an image from the
CTMH Artiste that coordinates with the
Holiday Tags CTMH stamp set and stamped it with some
Cranberry Ink and placed a
TCP December Flair in the center (the glitter on this flair is stunning). Punched a hole on top and ran both ends through it so I could tie a nice bow on top of the tag.
I know this was a lengthy post but once you get one done, I promise the others will be super fast. I appreciate you making it to the end and I hope you enjoyed my first tutorial.
Just a heads up...
The Crafty Pickle is in the process of opening a new shop so please stay tuned for more info or follow on facebook The Crafty Pickle.
The Crafty Pickle
etsy shop is back open!
Thanks for stopping by.
Supplies used: